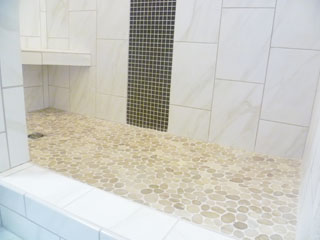
 In preparing for retirement, these clients were remodeling a beautiful home in Brazil, IN. I was called upon to do the tile in the master bathroom as well as a new backsplash for the kitchen. This wasn’t going to be an ordinary bathroom. They were aiming for spectacular!
Shower with Style
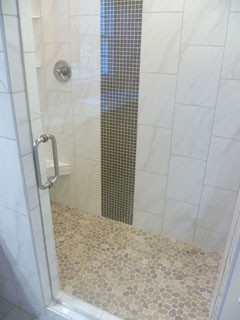 The shower doubled in size from when I arrived. The old cramped shower surround had to go. The new shower features large 10×14 tiles placed vertically in an offset pattern. The tiles look like marble but they are actually a ceramic tile that was very easy to work with. (Marble tends to be brittle, especially if you’re trying to cut thin pieces.)
 To add some color we included a 12″ wide stripe of 1″ dark grey glass tiles from Daltile. Tiling all the way to the ceiling makes it even more luxurious and feel larger.
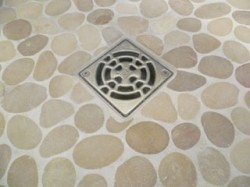 Perhaps my favorite part of this particular shower is the pebble shower floor. It really turned out well. When shopping for pebbles to use I always recommend that they are fairly flat and smooth, as these are. If they are too rounded or jagged your feet will pay the price!
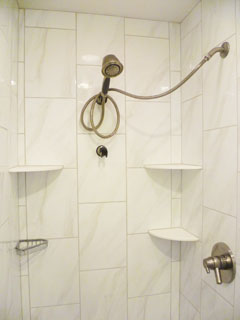
This shower also features a bench and several small shelves for storage. We also installed a handheld shower with his and hers mounts so that it can be positioned at the preferable height for the person using it.
New Tile Floor
When they bought the home it had a nice bathroom with a super large tub in the corner. Having two other tubs in the home, they decided to remove the tub and instead install a wall of cabinets. The floor was to be tiled to match the shower, except the tiles were not as glossy and more slip resistant.
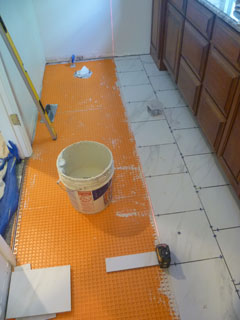 After the vinyl and luan underlayment was removed I installed Ditra uncoupling underlayment over the subfloor. This effectively separates the tiled layer from the expansion and contraction of the wood below. (Read more here.) The floor tiles are actually 12″ square porcelain.
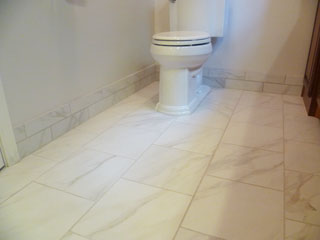 Another detail that I love about the floor tile is the base layout. We were planning to install a tile base all the way around the room. Usually this is just the 3″ piece of bullnose tile, however, this wouldn’t have covered a mark on the wall left from where the old wood baseboard had been. I really wanted to cover this up and I had the idea of doing a double row of tile for the base.
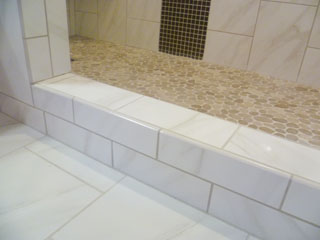 It turned out great. It looks so much more luxurious and it lined up perfectly with how I had tile the curb. (Of course, I meant to do I that way from the beginning, right!??)
Sometimes it just comes together as this one did. I’ll talk more about the cabinets and backsplash in my next articles.

