There are many times when trim needs to be a removed for a project, but saved and possibly reused. Trim often breaks easily or gets damaged when removed. Here are some steps to take that will help:
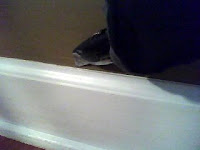
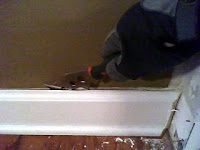
 1. Start by using a utility knife to cut along all of the edges of the trim. This will sever the caulking and allow the trim to come loose. Otherwise you’ll likely damage the wall or the trim itself because the caulk adheres so well.
 2. Next, I like to use my painter’s-all-in-one tool, which is like a fancy putty knife, to pry the trim from the wall. It is much thinner than a pry bar and less likely to damage things. This tool has a ton of uses, but I’ve found nothing better for getting trim off without causing trouble. Once you get it loose you could use a pry bar in some places. Just be careful not to pry against the drywall where there is no stud because this will quickly put a hole or indention in the drywall.
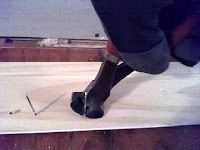
 3. After the trim is off get some end nipper pliers to get the nails out of it. DON’T use a hammer to beat them backwards, instead, use the pliers to pull them from the back of the trim. This way, the front of the trim is not damaged whatsoever. It will be ready to put back up with only the new nail holes to cover, not the old ones as well.
4. Finally, label the trim on the back so you’ll know where it came from. This will be especially helpful if you have several pieces that look alike. It will save you from having to play the trim-matching game later.
-Peter


Melinda
March 23, 2009 , 8:15 pm