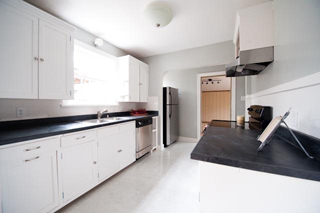
 The kitchen at my Inglewood Cottage project needed some creativity to get to the shape it’s in today- fabulous!!
(Professional photos by Zach Goodyear.)
Here are some of the challenges that were overcome:
1. Open the wall up between the kitchen and dining area and make it an arch to match the other doorways in the home (this post).
2. Make a spot to install a dishwasher next to the sink (this post).
3. Add counterspace on the wall next to the range where there previously was none.
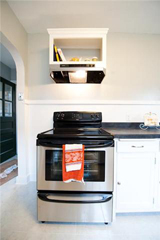
4. Build a cabinet next to the dishwasher and over the range to hold the new hood (this post).
5. Level the floor around the back door (this post).
6. Make it all look like it fits with the character of the house.
I’d say we accomplished our goals.
The old kitchen had some good parts, namely, the cabinets. They were build to last and there was no reason to replace them. Instead, everything else is new- floors, counters, backsplash- but the cabinets just got some fresh paint and new hardware. Actually the cabinets are probably better built than many of the budget cabinets available today.
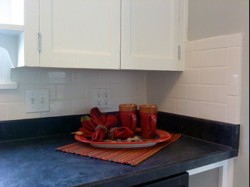
 The subway tile backsplash is one of my favorite parts of the renovation, as well as the cabinets I got to build for above the range and next to the dishwasher. Nothing fancy, but it was fun to build a new cabinet and try to make it match the old so well that you wouldn’t think it was new.
In addition to the cosmetic changes, the kitchen also got all new wiring and plumbing. It’s ready for business!
 By the way, when we got finished the homeowners listed the home for sale on a Friday and had it under contract before the open house on Sunday! Wow! I knew it would get some attention, but that’s an amazing story, especially in our current real estate market.
Check out all the articles related to this project at this link.


