 I covered the basics of waterproofing a shower using the Schluter Kerdi system in my last post (click here). Now it’s time to lay the tile and grout it all.
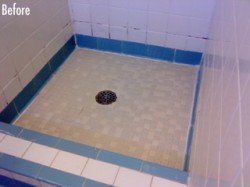 The goal of this project was to just to replace the bottom rows of tile and the shower floor. The older system was leaking and needed to be torn out (see this post). In addition to leaking, the old tiles weren’t looking very good and some dirt had been collecting in areas that had been caulked several times in an attempt to fix the leaks.
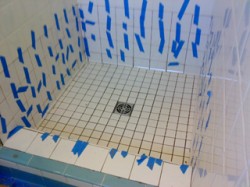 The layout for the tile was already dictated to me by the original tiles that I didn’t remove. I would be using a rounded base tile at the intersection of the bottom of the wall with the floor. This piece would get cut to fit after I installed the wall tiles.
In this case, I would need to start laying tile at the top and go down from there. If you start at the bottom, the weight of the tile is supported by the floor. Starting at the top, I had to tape each piece to the tile above so that they wouldn’t slide down the wall and out of place.
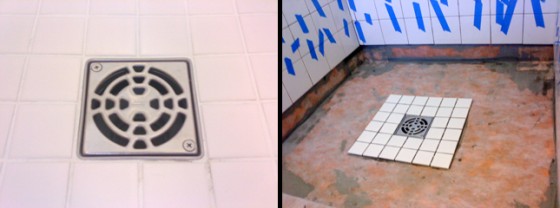
One great thing about the Schluter Drain is that is a 4″ square. It’s perfectly sized for most tile installations where you are using either 1″, 2″, or 4″ tiles. In my case, I installed 2″ square white tiles by cutting out the center of one sheet of tile and installing this first (see the picture below). Then I installed all the tile sheets around the perimeter.
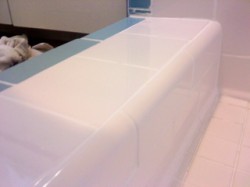 The small ledge across the bottom of the doorway is called the curb. It keeps the water contained in the bottom of the shower. I used some curved edge pieces of tile on the corner of the curb to avoid any sharp corners.
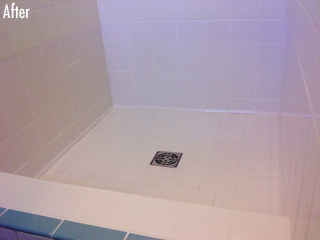
After grouting with white unsanded grout and sealing, this shower was ready for business. Hopefully, it will last for decades to come with no more problems.
HINT: John Bridge (Tile guy extraordinaire at www.JohnBridge.com) says that for a maintenance-free shower, take a minute after each use to wipe down the tile with a towel. This will greatly reduce any mildew over time and keep it cleaner as well.

