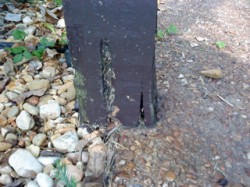
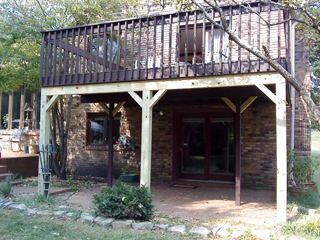
 Old decks are often a concern if they weren’t built very well to begin with. The homeowner for this project just bought this house and was afraid to let people onto the deck. It tended to sway a little and give you “sea legs”, so let’s “Secure the Deck!”
[I hope you’re enjoying my nautical humor…  ]
]
The outside edge of the deck was supported by 3 4×4 posts. The posts were only halfway on the concrete pad below and a couple of them had come off altogether and had some water damage at the bottom. This means that the two posts under the center of the deck were carrying most of the load. My plan was to remove these inadequate posts and install a header across the entire deck supported by 3 beefy treated 6×6 posts.
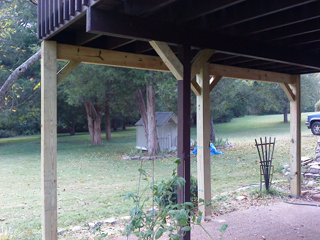 The fist thing I did was to cut some angled braces out of 4x4s and brace up the 2 legs in the middle that would remain. Then I added some temporary support to the outside edge and removed the legs (which weren’t holding much anyway).
Sometimes, the challenge in a project is to figure out how I can do it by myself- safely. At this point in my business, I work alone, so I have to get creative. With those old legs out of the way, I needed to install a 16 foot, doubled 2×8 header on top of 3 large 6×6 posts. Here’s how I did it:
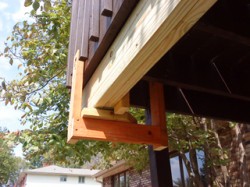 First, I built a couple temporary support brackets that hung down from the deck that could hold the header until I could get the legs in place. I cut the 2x8s and lifted them up there one at a time before screwing them together. I then positioned the header in the right place and shimmed it up until it was snug against the deck. Now, I just needed to add some posts underneath it.
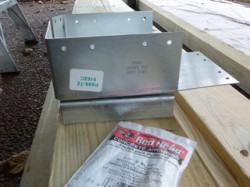 Using a level attached to a long 2×4 I found where the bottom of each post would end up. Then, I could find the center of each post on the concrete slab. I drilled a deep hole into the concrete to receive a concrete wedge anchor. The anchor goes through the stand-off post base into the hole and is tightened down with a wrench. This ties the post solidly to the concrete and the base keeps the bottom of the post up off of the ground where it’s less likely to deteriorate due to water, even though it is treated lumber.
The top of each post needed to be notched where it would be joined to the header. You can see below how I carefully measured the notch to be cut out using my circular saw and finished up with my reciprocal saw. Then it joined the header with several screws on either side to secure everything. I also added 4×4 angle braces to each of the new posts to ensure that there would be no more swaying to this aging deck.
“The deck is secure, Cap’n!”

