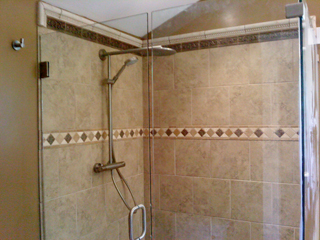
 I was called recently to redo a fantastic tile shower in an older home in Inglewood. Unfortunately, there had been problems with the previous installation and another contractor had flaked out on the repair. I was brought in to finish the job and do it right.
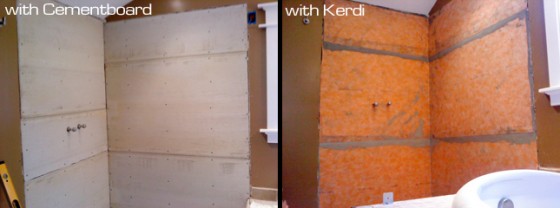
When I arrived the glass enclosure had been removed and all the tile was gone. The other contractor had started installing cementboard before he disappeared from the scene. I started by removing some of the cementboard and added more framing. With a glass enclosure it’s especially important to have something to fasten it to. It didn’t take long to have all the cementboard in place and it was time to waterproof the shower.
I’m a big fan of the Schluter Kerdi system for waterproofing showers. In this case, the old vinyl shower pan was still intact and, according to the homeowner, did not need replacement. My job was to just install the Kerdi waterproofing membrane on the walls and overlap the shower pan at the bottom.
One of the most important factors with this shower was to consider the shower enclosure. It consisted of two large pieces of glass and a large glass door. The dimensions of these pieces were set and they needed to fit squarely and tight. I needed to measure exacly and make sure it would all go together well in the end.
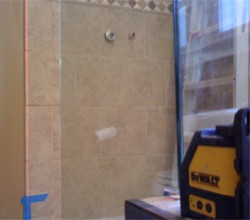 One of my favorite new tools is a Dewalt laser level, model DW087K. It will project a perfectly vertical OR horizontal line throughout the room giving me a perfect guideline for laying tile and making sure it’s all straight. It’s much easier to use than chalk lines and can be pulled out at any time to be used as a reference. The tile on the walls needed to be perfectly plumb so that the glass would fit flush with it all the way up the wall.
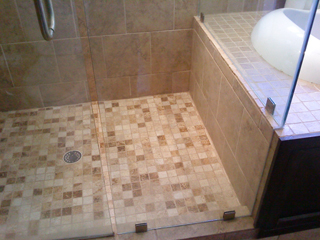 The floor consisted of 2″ squares that come on 12″x12″ sheets. Even though the floor had been previously tiled, the existing slope was not quite enough to ensure good drainage. I ended up increasing the slope with another mud bed on the floor to get a slope of at least 1/4″ per foot from the corners. To do this I used something called deck mud that is basically a mixture of portland cement and sand. It comes in pre-mixed bags so I can just add water and go. It’s a bit of an art form that I’m still working on perfecting.
I may cover more of the details tomorrow, but this was an amazing shower.

