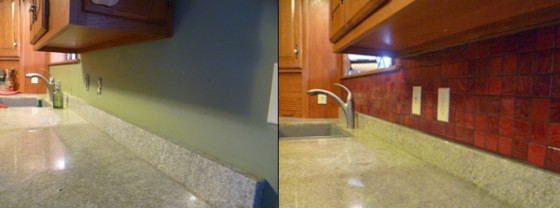
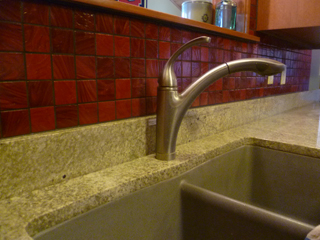
 This week I got to help a family west of Spencer, IN brighten up their kitchen. The job called for installing a new backsplash consisting of some beautiful red glass tiles.
If you pick up a kitchen and bath magazine you’ll probably see lots of glass tiles, especially on walls. Although it’s very popular right now, it’s actually been in use (like all sorts of tile) for centuries. The methods may change a little, but the basic principles of tile are still the same. I guess we all like to have a little of that old-world artistry in our own homes, right?
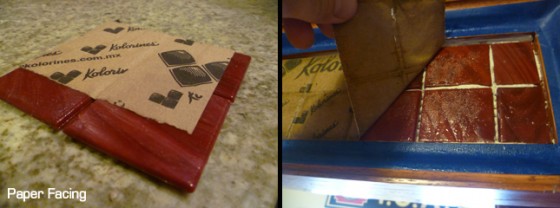
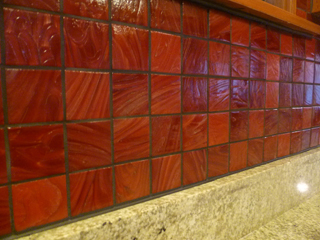 Anyway, these beautiful tiles were Daltile Glass Mosaics, Scarlet VG50. The 2″ x 2″ tiles come on 12″ sheets with a paper facing attached to the front to hold them together. From the ones I was installing I only saw a couple tiles in the entire batch that were defective- mainly from being a little curved and not laying flat enough for me. (Get these tiles at Owen Valley Flooring.)
As you can see the tiles have some slight various in textures and colors, this may be due to the fact that these tiles are made partially of recycled glass. When finished, the variations reminded me of wood grain, or even natural stone.
Installing these tiles is a little tricky. As I mentioned they have thick paper glued to the fronts to keep them aligned as you install them. After setting them in thinset or mastic you can use a spray bottle or sponge to lightly we the paper. Do this a couple of times, without drenching it, of course. After a minute or so the glue will loosen up and the paper can be carefully pulled off. (See photo below.) Timing this is the part that takes some experience- you don’t want to pull the tiles off the wall, but you also need to be able to adjust the tiles if they aren’t in the right place. After they are firmly set, you can use a sponge and get the rest of the glue off. No need to scrub until they are ready.
I found that cutting these tiles wasn’t too difficult. The wet saw did a fine job if you cut slowly. Trying to cut too quickly will break of pieces of tile, just like if you were cutting porcelain.
HINT: When cutting paper-faced mosaic tile, place the tiles on something like a piece of cardboard to support the entire sheet while you are cutting. Also, cover the sheet as well to keep the spray from the saw from loosening the glue prematurely. Just leave the cut line exposed and keep the rest covered for less headaches.

