 I recently completed this project in Ellettsville (Bloomington) Indiana. When I begin it was outdated and a little cramped. This would soon change!
I began by removing all the fixtures and opening some of the walls up. To add some more space to this master bath, I removed the door that separated the toilet/shower area from the rest of the bathroom. It had actually originally been this way, so I was restoring it’s original design, I guess. It made the room feel so much larger to not separate the two spaces with a narrow door. I also widened the main doorway into the bathroom and installed a 36″ pocket door. That way, the door can just slide into the wall and be out of the way when it is not needed.
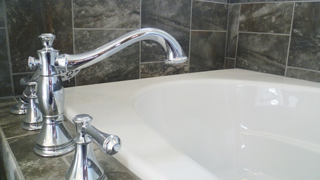
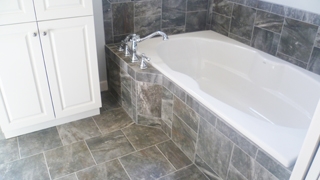 The old jetted soaking tub hadn’t worked well and the homeowners didn’t need the jets so it was replaced with a large deep soaking tub. I built the platform from scratch, which required a little extra thought because of the tile design. Originally, the homeowners thought the tub faucet would be attached to the flange of the tub. The problem is that the tub flange is actually fairly flimsy and it’s not a good place to attach this large tub faucet- especially if someone ever decided to use it as a handle to get out of the tub.
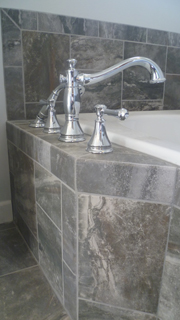 Anyway, to solve the problem I designed the little bump out to contain the tub faucet and handles. It keeps the faucet out of the way, but also in a place so you could easily turn on the water without getting in the tub. The old faucet was actually on the back side of the tub- not easy to turn on without getting wet!
Knowing the tile layout ahead of time, I was able to design the tub platform so that it would fit right into where the grout lines would end up and not have any awkward little pieces. It turned out great and the homeowners loved it.
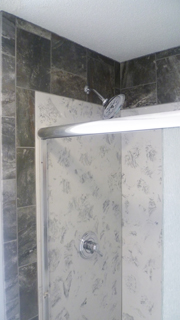 This project also included replacing an old acrylic shower enclosure with a new cultured marble shower. This is often tricky because it is made to fit tightly and the framing gets in the way. You can see where I notched the studs on the right so that I could slide the shower base in. Once it’s in I patched the framing up. From experience, I know you don’t want to get the shower base in there and then realize you don’t have room to drop it into position! They are too heavy to move twice if you can help it!
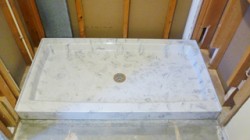 Cultured marble is a man-made product basically made of gluing marble dust with some sort of high-strength adhesive. It is quite strong and waterproof and can be made into large panels like this shower. The shower base is also cultured marble. The large panels can be trimmed for a tight fit, but it’s still extremely important that the walls are plumb and square. They also purchased a cultured marble niche that I installed in the far wall (not pictured).
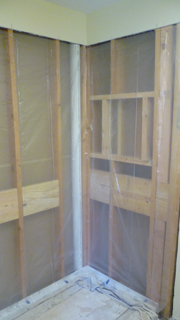 I tend to be a somewhat obsessive about waterproof showers. Since cultured marble is waterproof you really only need to worry about the joints in a shower like this. These all get silicone caulk, but if water ever gets through, then what? To be a little extra cautious I used cementboard behind the wall panels and a plastic moisture barrier behind that- just to be extra careful to keep the water in the shower. The main thing is to keep those joints caulked well, but I’ll sleep better knowing there’s not drywall behind them.
You can also see in the picture (left) where I added some extra blocking around where the niche would go, as well as where they may want to install some grab bars someday. Now is the time to think about this.
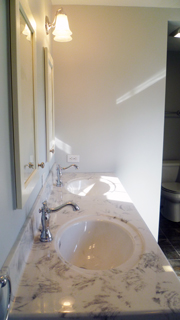 The vanity is completely new as well. The tricky part with installing a new vanity is to make sure that the plumbing is in the right place so that it doesn’t interfere with drawers, etc. You can’t just put the drain in the middle and expect it to work every time. Each vanity is different. I was also able to recess the medicine cabinets into the wall with just a little framing modifications. Often there are vent pipes or other obstructions that can get in the way.
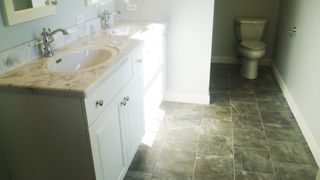 Overall, this bathroom turned out very nice and my clients were thrilled.

